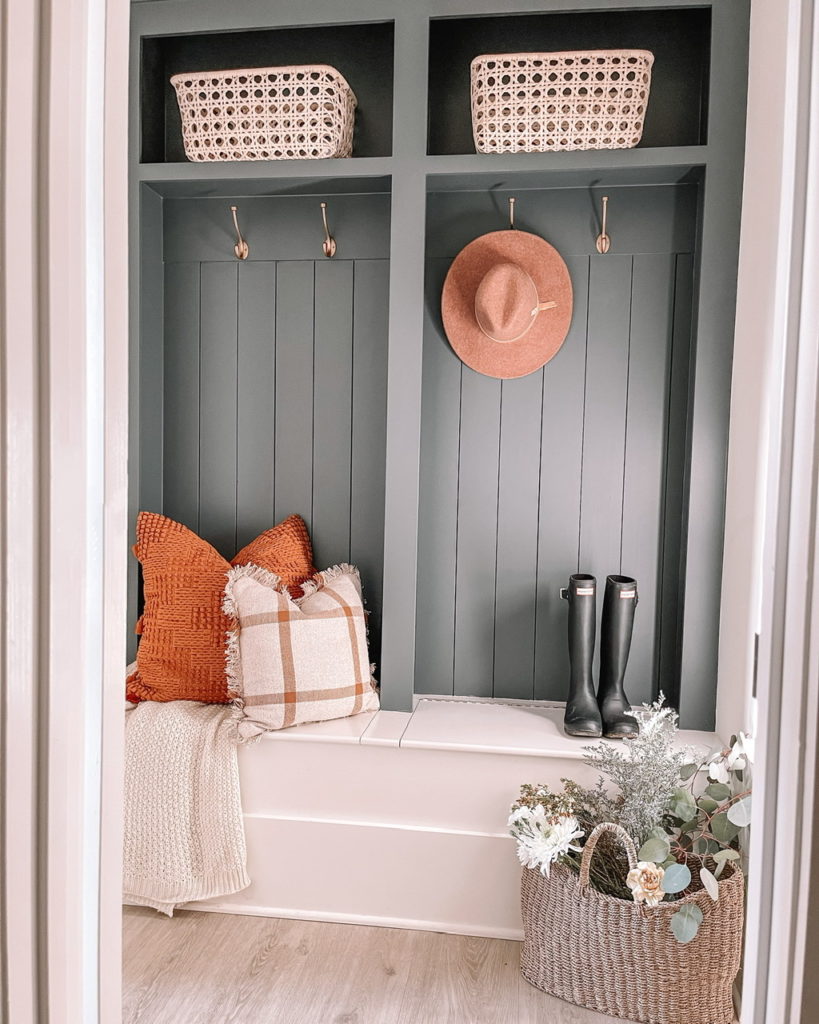
So excited to share all the details of our mudroom nook with you all today! Scott and I had a lot of fun with this project- once I could actually get him on board haha!
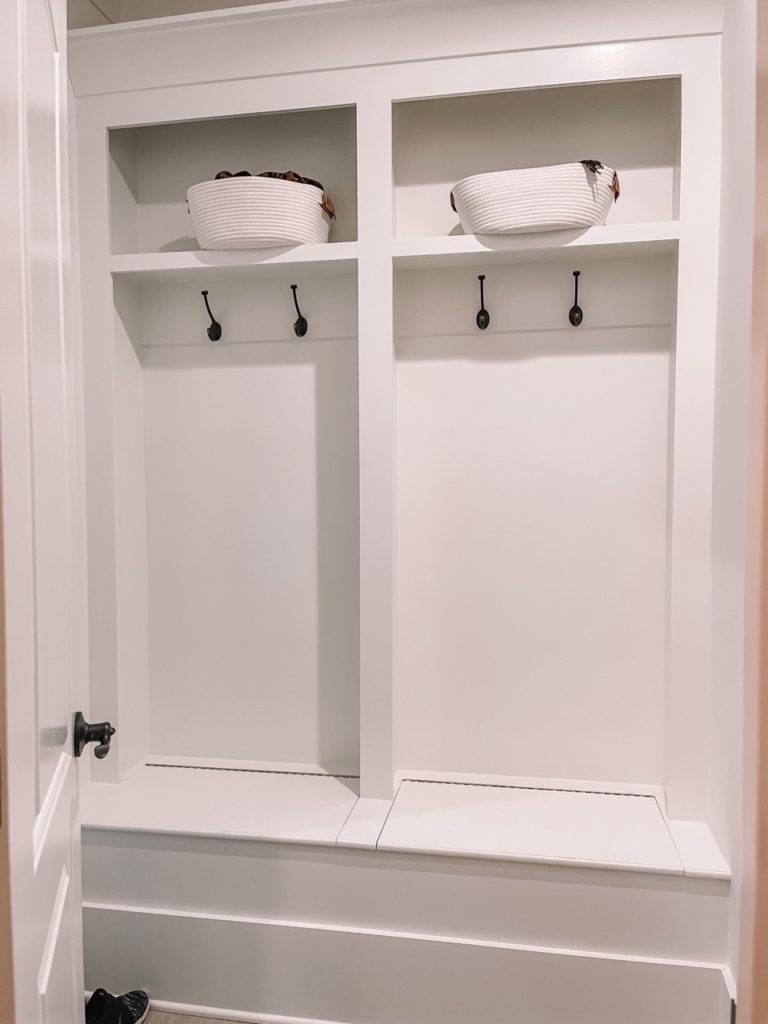
Our mudroom nook included a built-in area with shelving, hooks, and seats with storage underneath. It was the same paint color as the rest of the walls in our home (Sherwin Williams Alabaster) and really didn’t pop. The space seemed really plain to me and I decided I wanted to add some vertical shiplap and a moody paint color to really make a statement.
When thinking about painting, I decided to only paint from the seats up- I left the bottom portion of the nook the original white color. The hallway that this mudroom nook is in doesn’t have a lot of natural light (one small window in the laundry room provides minimal light) and I didn’t want to make the hallway too dark by painting the entire nook a darker color. Ultimately, I think the two-toned look works in this space- it still gives off a dark, moody vibe without completely darkening the entire hallway.
Okay, enough about my design thought process- let’s chat details:
- We filmed the entire process and I saved all videos to my Mudroom DIY highlight- if you are looking for a full video tutorial check that out!
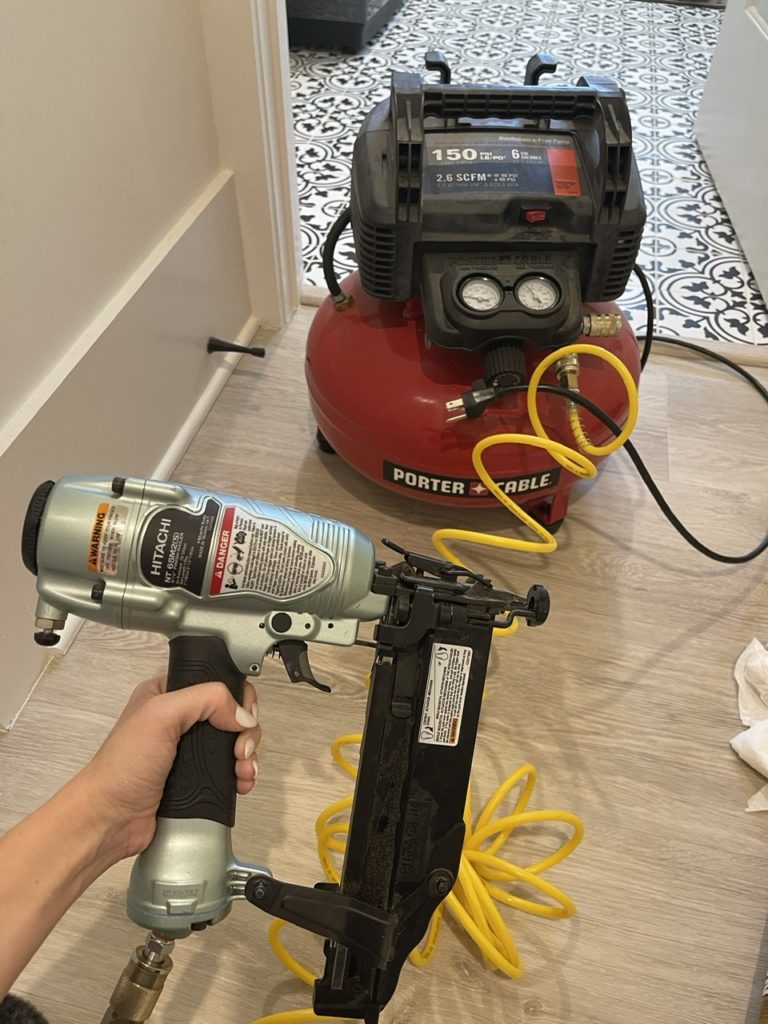
- We used this shiplap and adhered to the wall with wood glue and nails. The shiplap piece was 8 feet long, so we did have to cut it down a bit to fit our length of 5 feet. Scott used a nail gun to speed this process along.
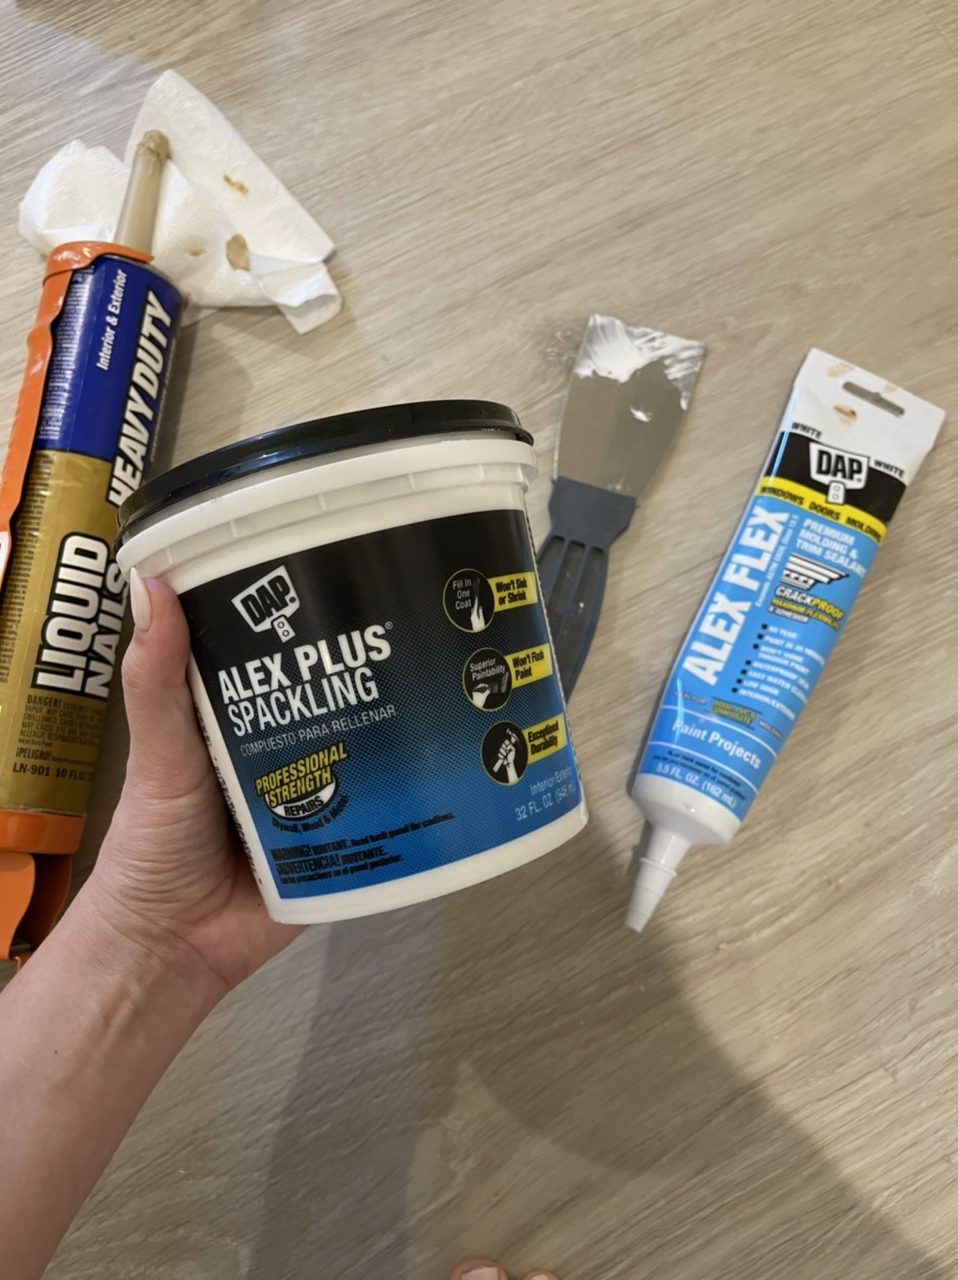
- Once the shiplap was installed, we filled all nail holes with this spackle using a putty knife. We also applied this sealant along the outer seams of the shiplap.
- After the spackle has dried, we went back through and sanded everything down so the wall was completely smooth and ready for paint.
- Paint color is Farrow & Ball Down Pipe- a dramatic lead gray with blue undertones. I chose this color as this was the same color of paint used in the inspo photo I found on Pinterest. I am sure this color could be color matched by Sherwin Williams, Benjamin Moore, etc. I chose the Interior Wood and Metal Surface with a Modern Emulsion Finish (best for high traffic areas like hallways). I clicked “help with finishes” on the site and that is where I found Modern Emulsion. Once I had my surface and finish chosen, my only option was to purchase in 4 L quantities and I purchased one. We had A LOT of paint leftover, so in reality I probably only needed one liter for two coats of this space.
- We used blue painters tape to mark off the edges. We used a regular paint brush for the edges/corner and a small roller brush for all other areas. We applied two coats of paint and were happy with the results.
- We reused the hooks we had- I just spray painted them this color.
Once all paint was dry and the hooks were hung, I decided to style the space with some items I found at Target. I added a few throw pillows (love the pop of orange/brown against the gray!), a throw blanket, and some baskets for storage. We love the way this turned out and feel like it has so much character now! Ultimately, we completed this project in one day- it’s amazing what a few pieces of wood and some paint can do to a space!
Below, I have included all products we used + everything I purchased to decorate! I hope this DIY was helpful and hopefully it has inspired you!
Materials and Tools
Decor
As always, thank you for reading! Now onto the next home project!

