We are finally sharing all the details of our outdoor space and we couldn’t be more excited! When we moved into this home nearly two years ago, we knew that we wanted to do *something* in the backyard. Ultimately, we decided to put in a pool + outdoor entertainment space as we felt like we would get so much use out of it. We LOVE being outside and having an extension of our home to entertain and play was the ultimate dream. I included as many details as I could below + links to furniture, etc!
COVERED PATIO
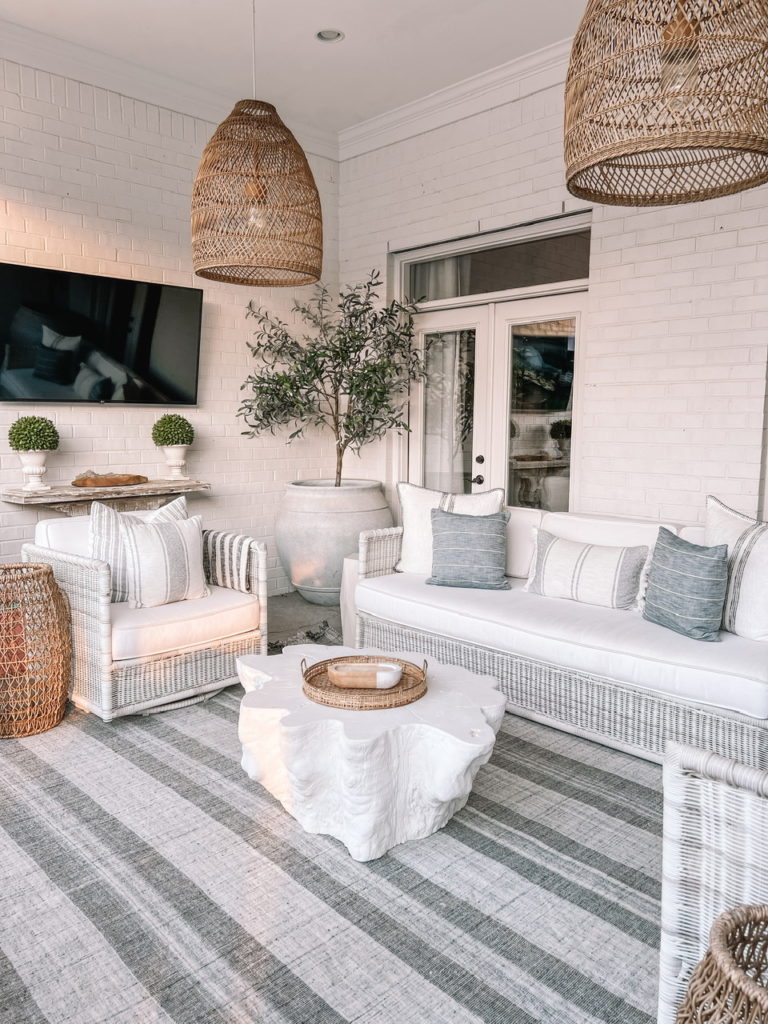
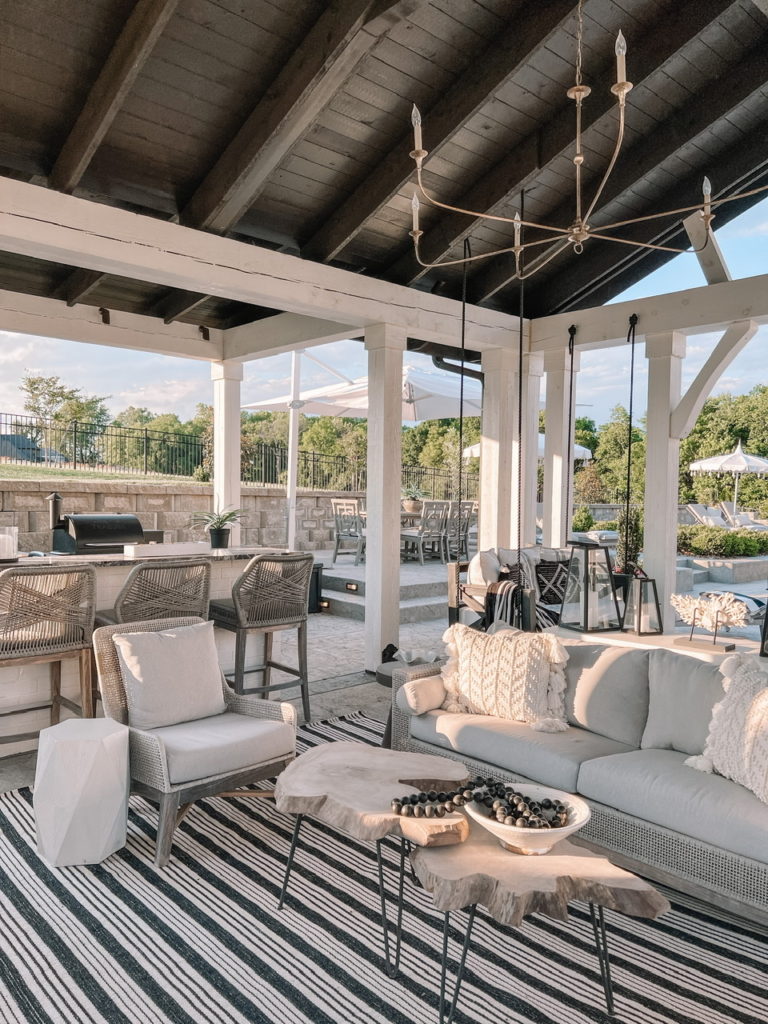
This is our covered outdoor patio connected to our home. I decided I wanted a more ‘coastal’ vibe out here and focused on blues, grays, and whites. We sit out here a lot with the boys (there is a safety fence to the left of this photo that contains them), watch TV, and play!
Speaking of the safety fence, that is always a top asked question- I used this local company and they were fabulous!
I tried to link as much as I could below- all pillows are Target! The table under the TV, topiaries, and large wicker lanterns are all from local stores and not linkable.
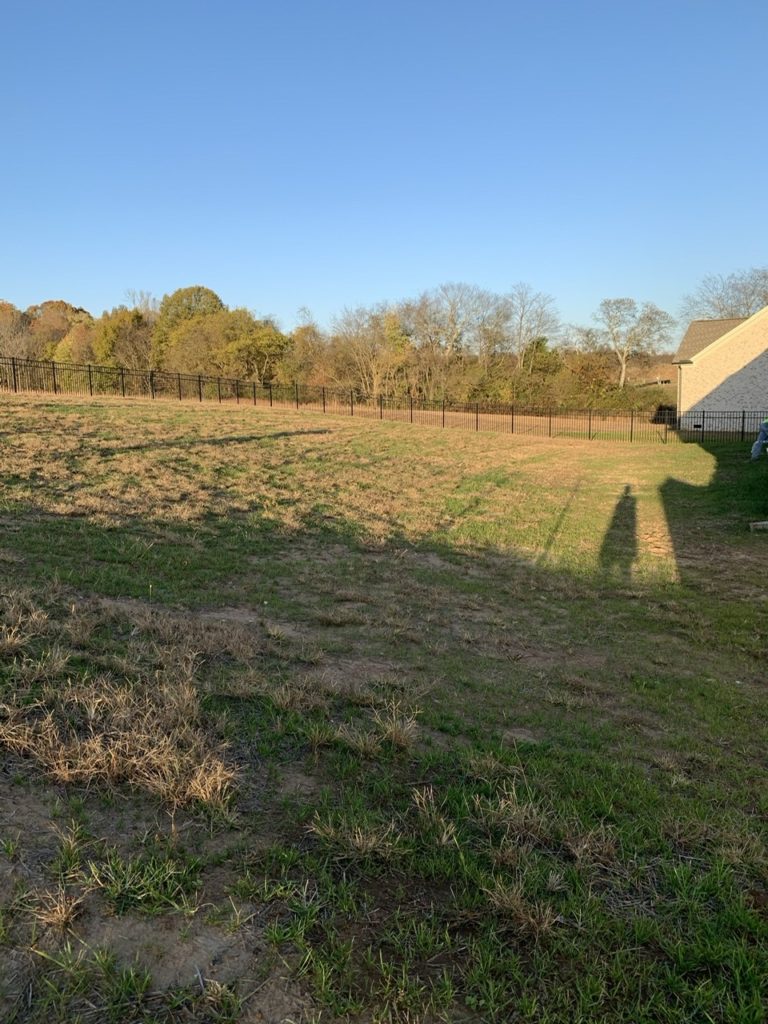
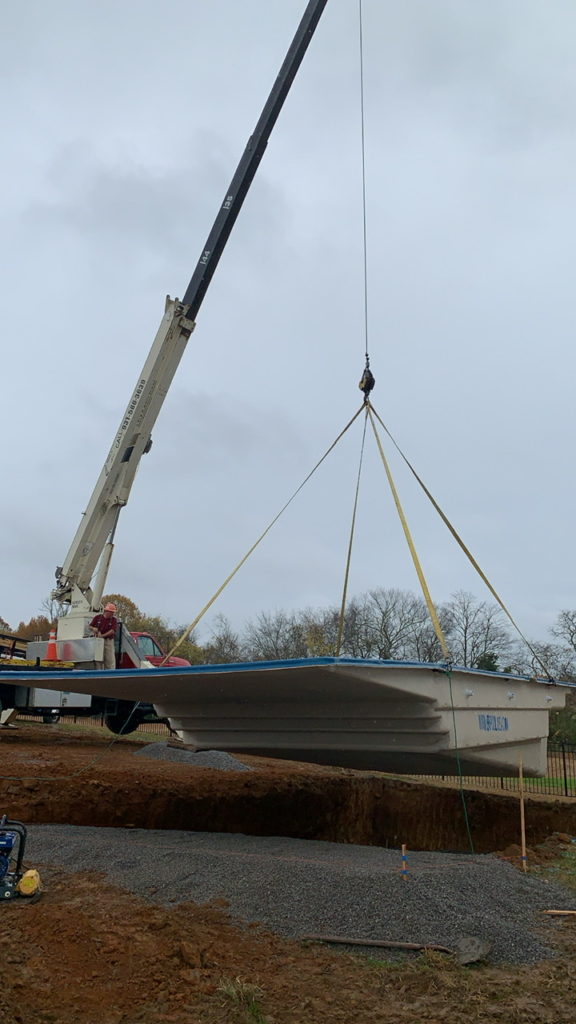
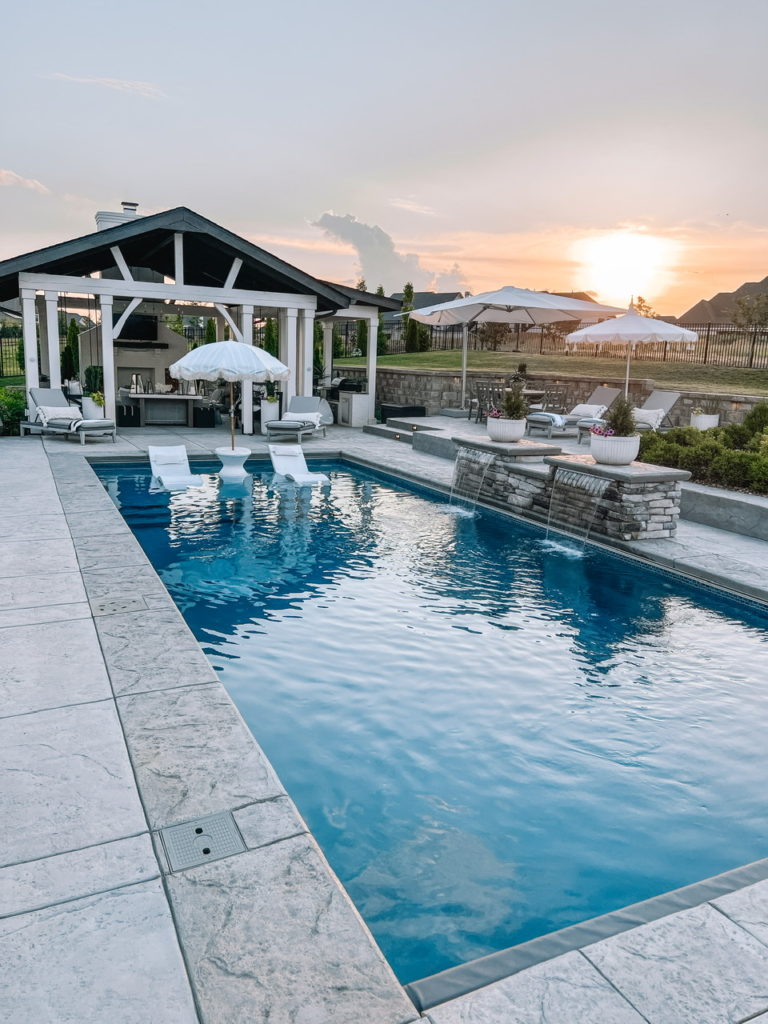
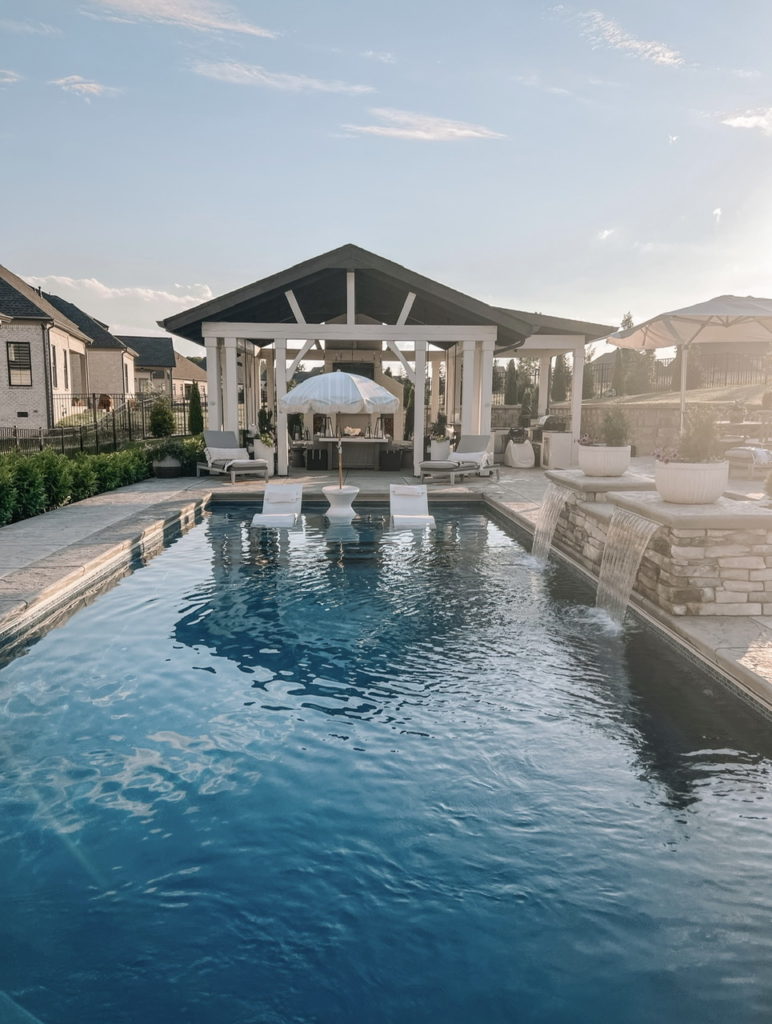
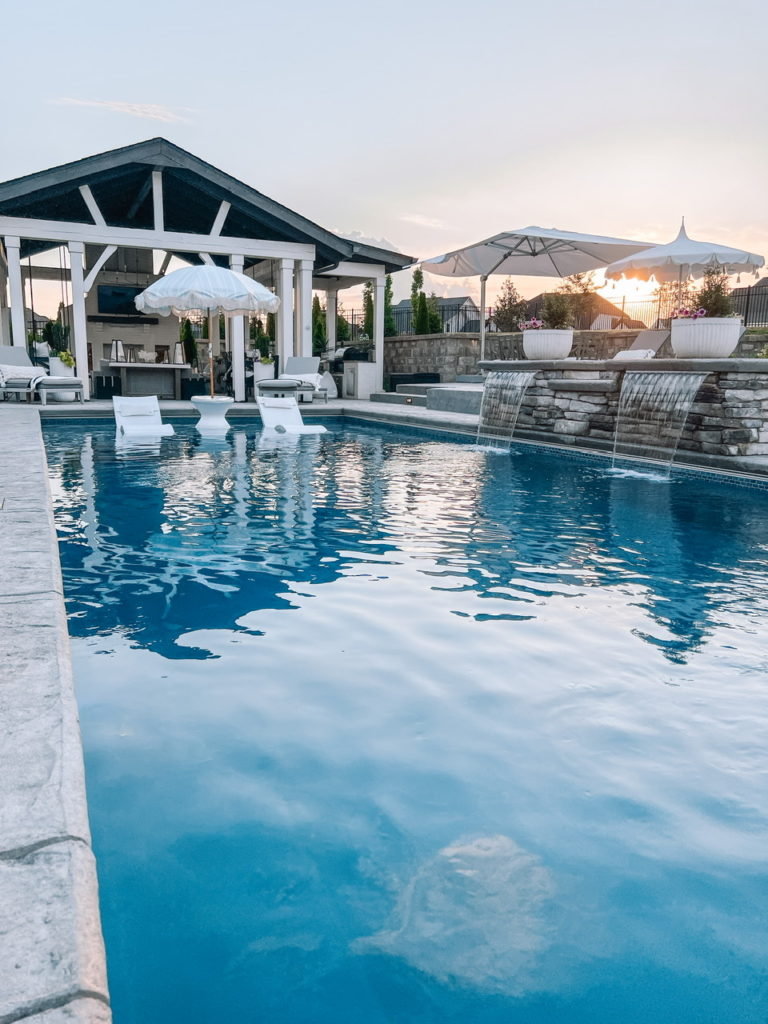
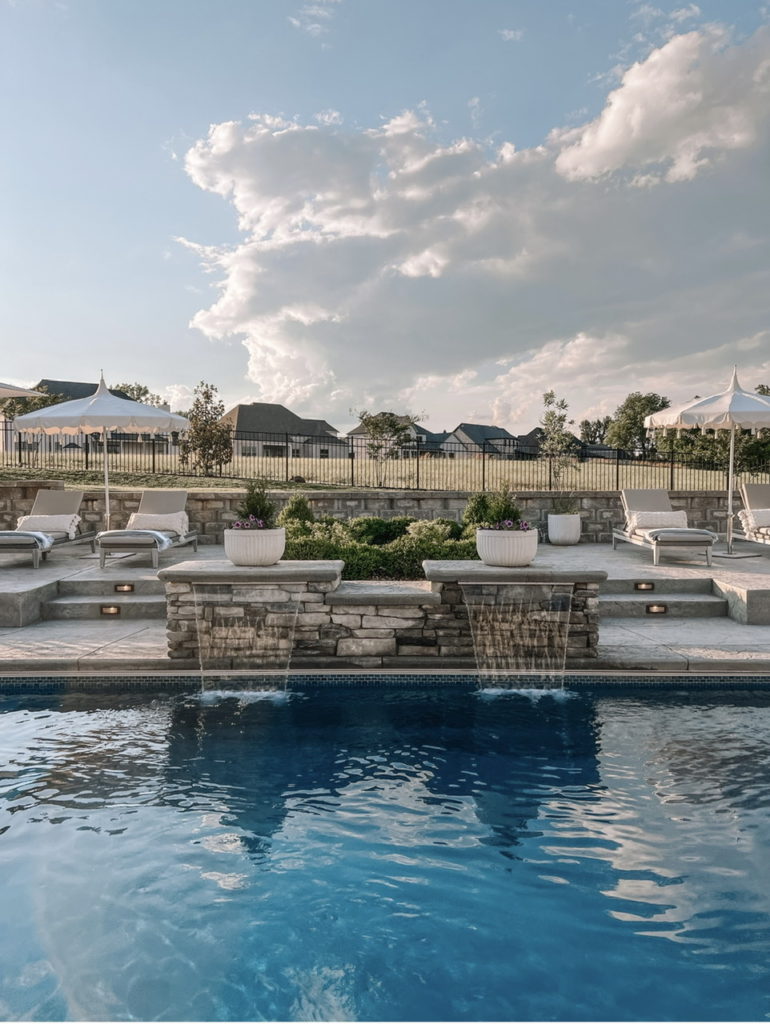
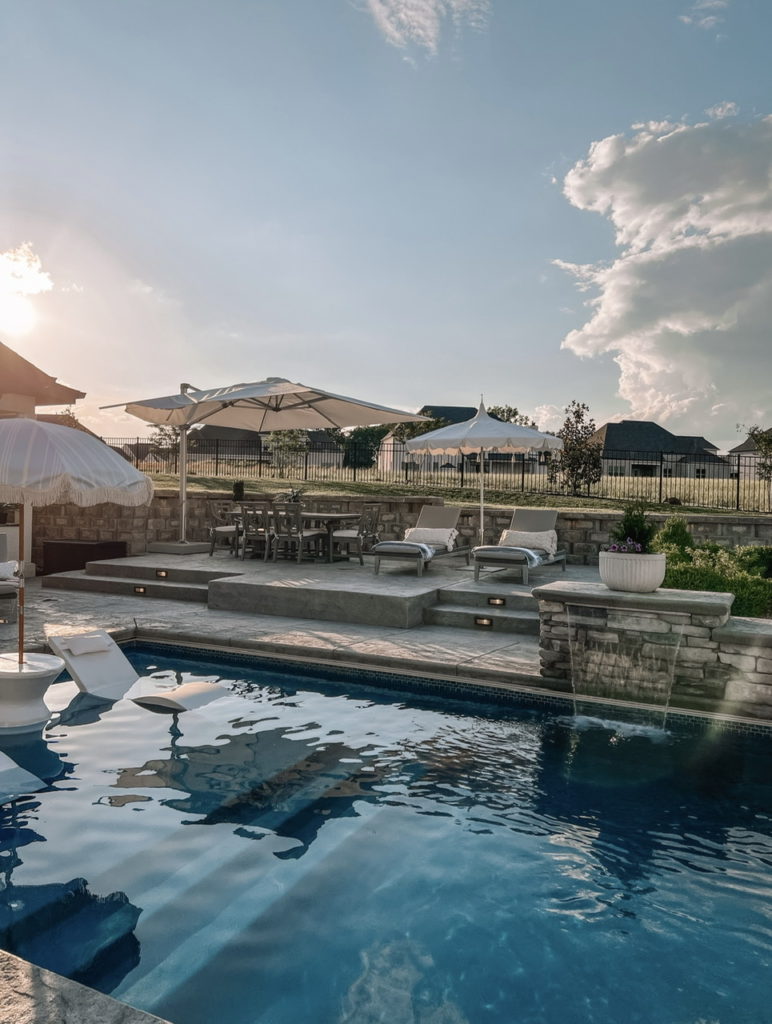
POOL + PAVILION
Pool Details: We used Care Free Pools for the design and construction of our pool. They specialize in fiberglass pools, which is what we opted for after looking at the pros and cons of different pools (mainly gunite (concrete) versus fiberglass). Obviously, there are SO many factors to think about with a pool: budget, upkeep, longevity, etc.
I always knew I wanted a more rectangular-shaped pool and after looking at the fiberglass pool options provided by Care Free Pools, we ultimately chose a 40 ft. x 16 ft. pool. This one in particular has a beach entry (perfect for little ones to sit in and play) and then there are a few steps down to the deeper end (max depth of 6 feet). I’m not sure what manufacturer Care Free Pools uses for their fiberglass pools, but I do know that our style is called ‘The Bondi’ and the color we chose was ‘aquamarine.’
We were also able to choose the tile design around the inside of the pool. We decided to add a feature wall with two sheer descents. We felt like this added such a nice visual when you’re sitting on our covered patio (you’re facing the waterfalls) + we love the sound of the water. Care Free Pools assisted with the design and we were so happy with how it turned out!
As a side note, after we initially met with Care Free Pools and described how we envisioned the space, they were able to create a 3D rendition of the pool which was so helpful to see! We initially did not have two levels in the design and, after seeing the 3D space, we decided we wanted more room for entertaining. We were able to tweak the design and add the second level for additional lounge chairs and a dining space. Another helpful part? Care Free Pools also has a concrete company (Creative Concrete Solutions), so it was easy to work with everyone together.
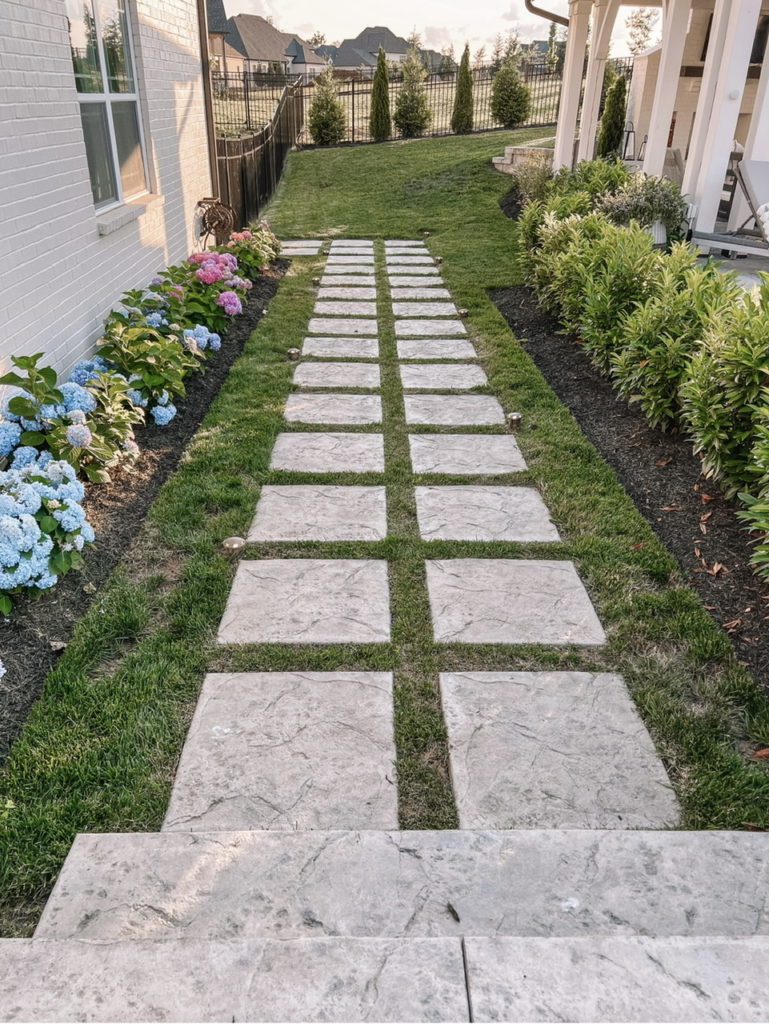
Speaking of concrete, this was another huge aspect of our design. We chose stamped concrete in the lightest color available + went one shade darker along the border of the pool. Stamped concrete gives the illusion of stone without the higher price tag + it’s not as slick when wet (which was something I was thinking about with kids). We also have a stamped concrete walkway leading from our driveway into the backyard (seen in photos below).
When thinking of pool safety, we ended up opting for an automatic pool cover. You can see the track (it’s the white bar right above the tile around our pool) on the photos above. The cover rolls up and is hidden under the concrete on the deep side of the pool- we have a button on our patio that is used to control the pool cover. We typically keep the pool covered during the winter or if there are concerns about children around the pool.
Care Free Pools also connected us with an electrician, who completed all of the landscape and pavilion lighting, and Luxe Design Build, who completed the pavilion space.
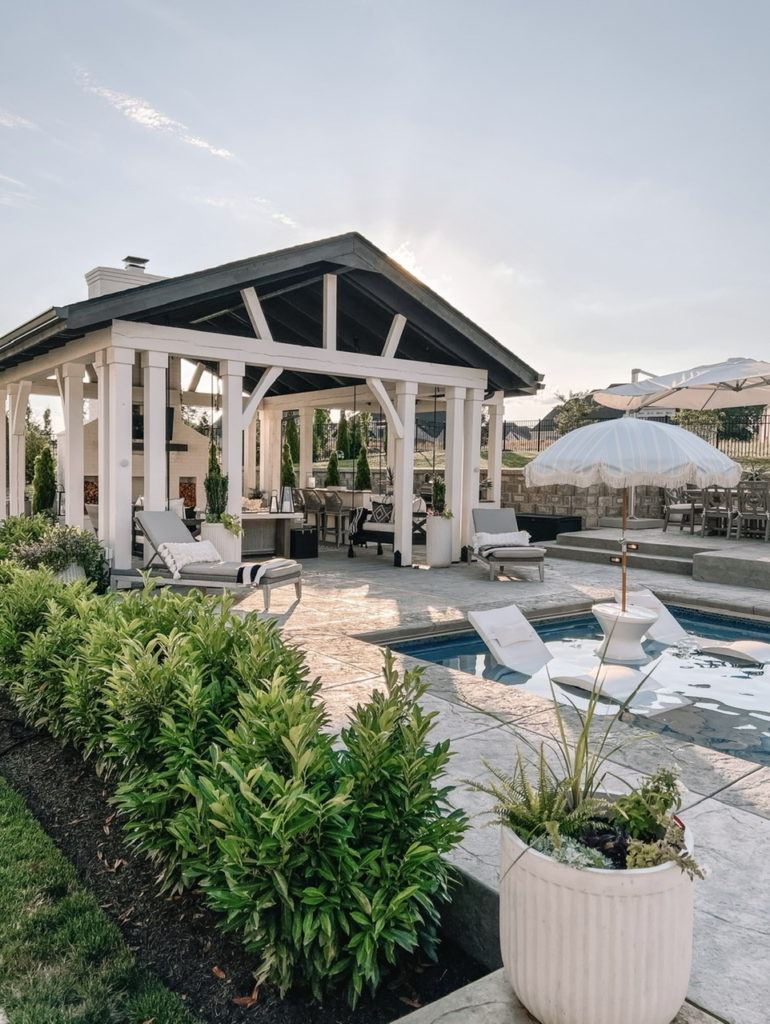
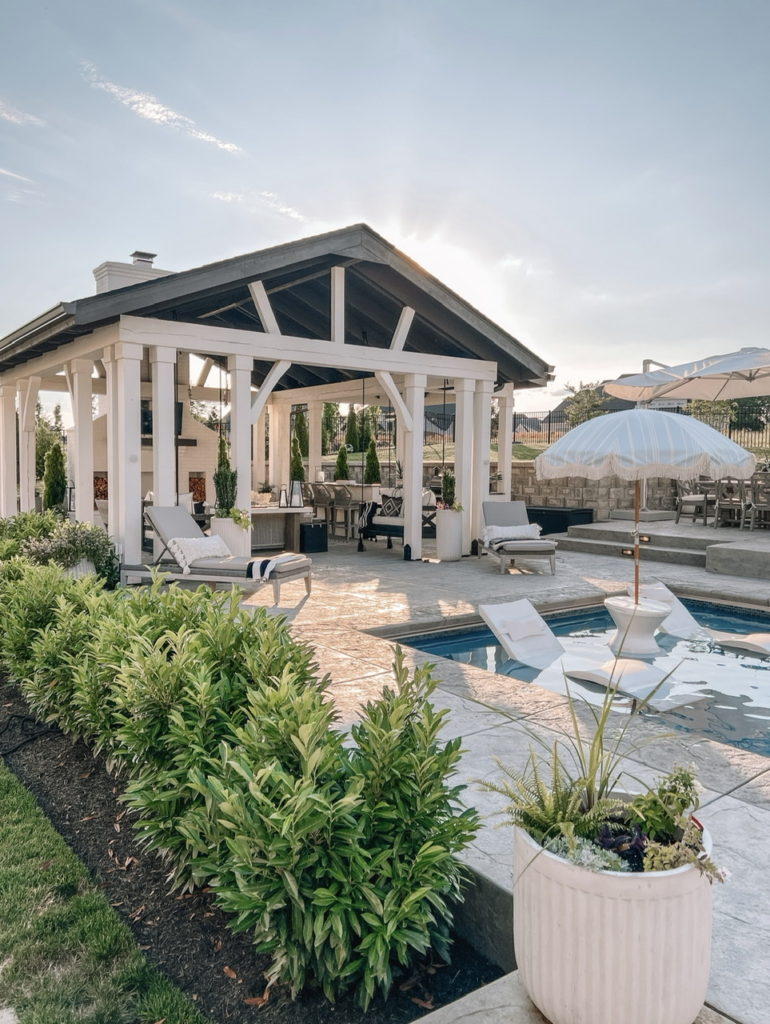
I linked as many items around our pool as I could below. The pool loungers, small white table, and white slide are from Ledge Lounger. The pool float that so many of you saw my mom on (it’s INCREDIBLE and so comfy) is from Ledge Lounger as well! The blue umbrella in the pool is linked here.
PAVILION
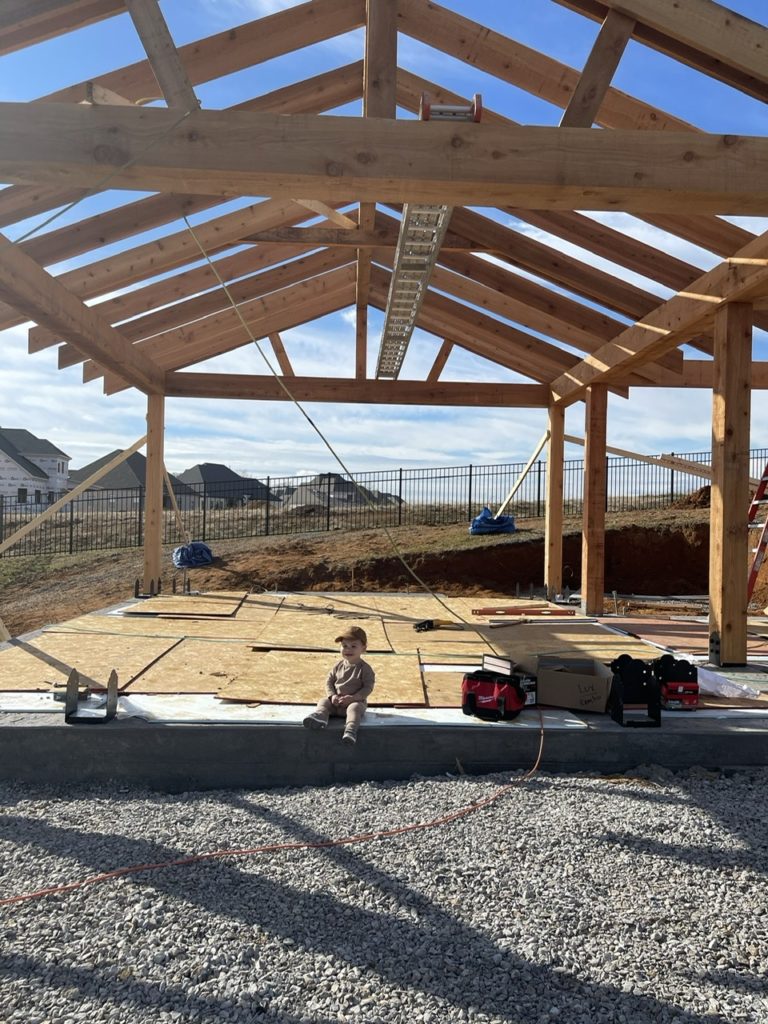
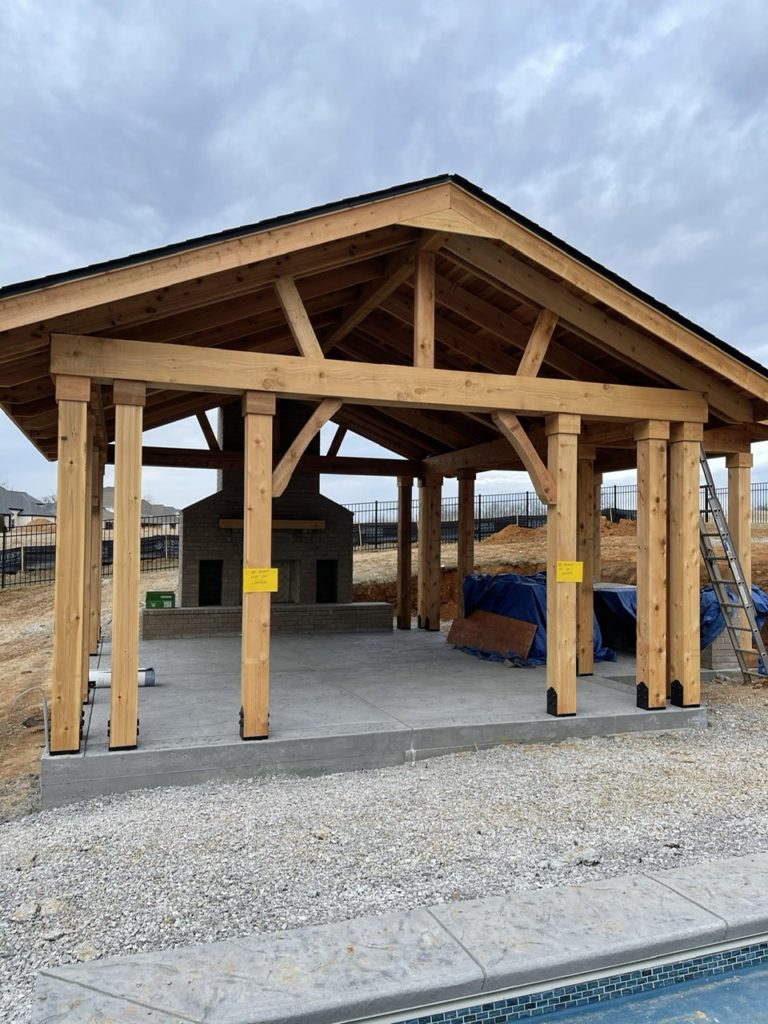
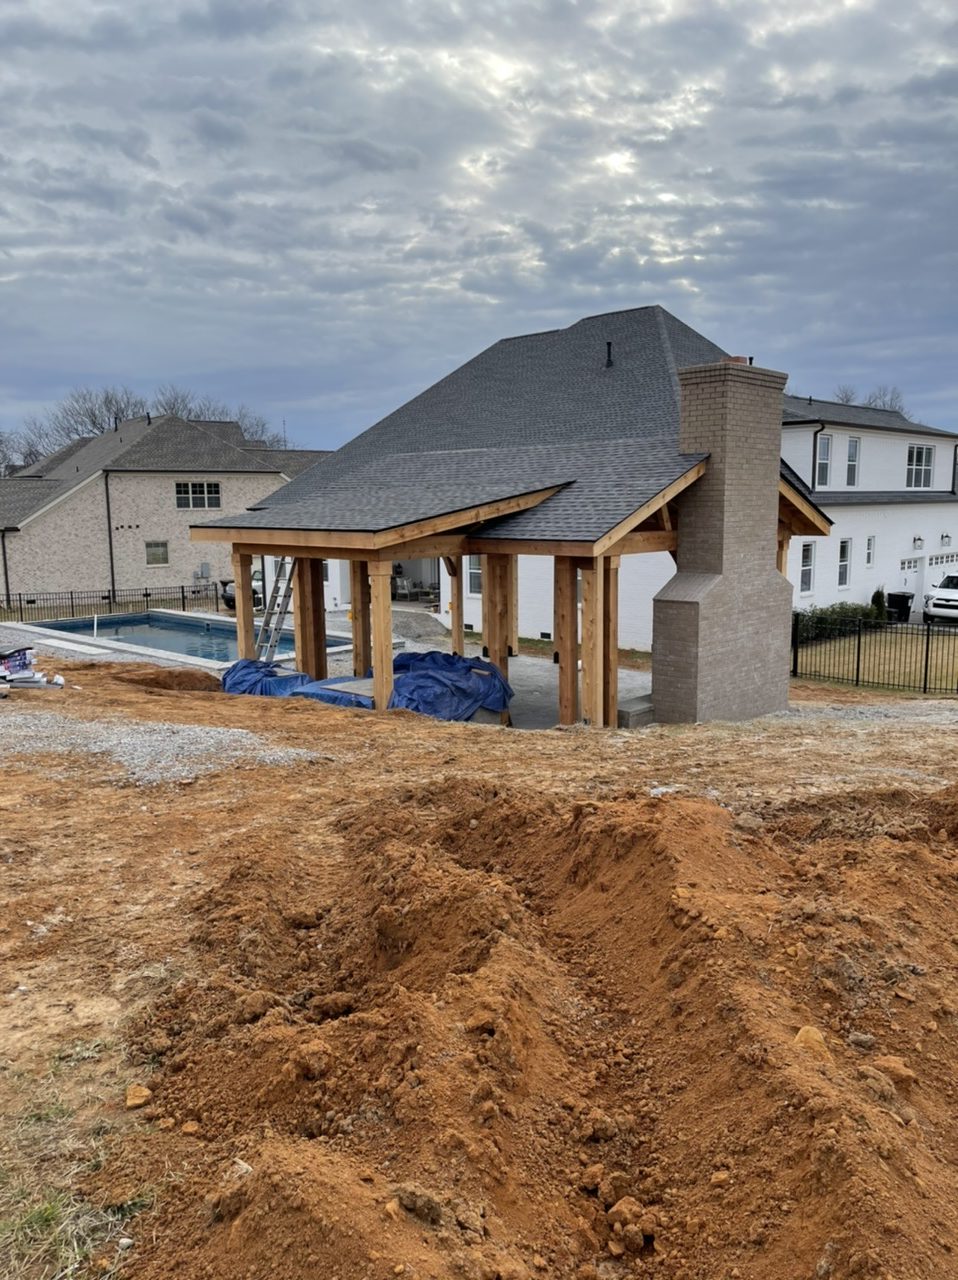
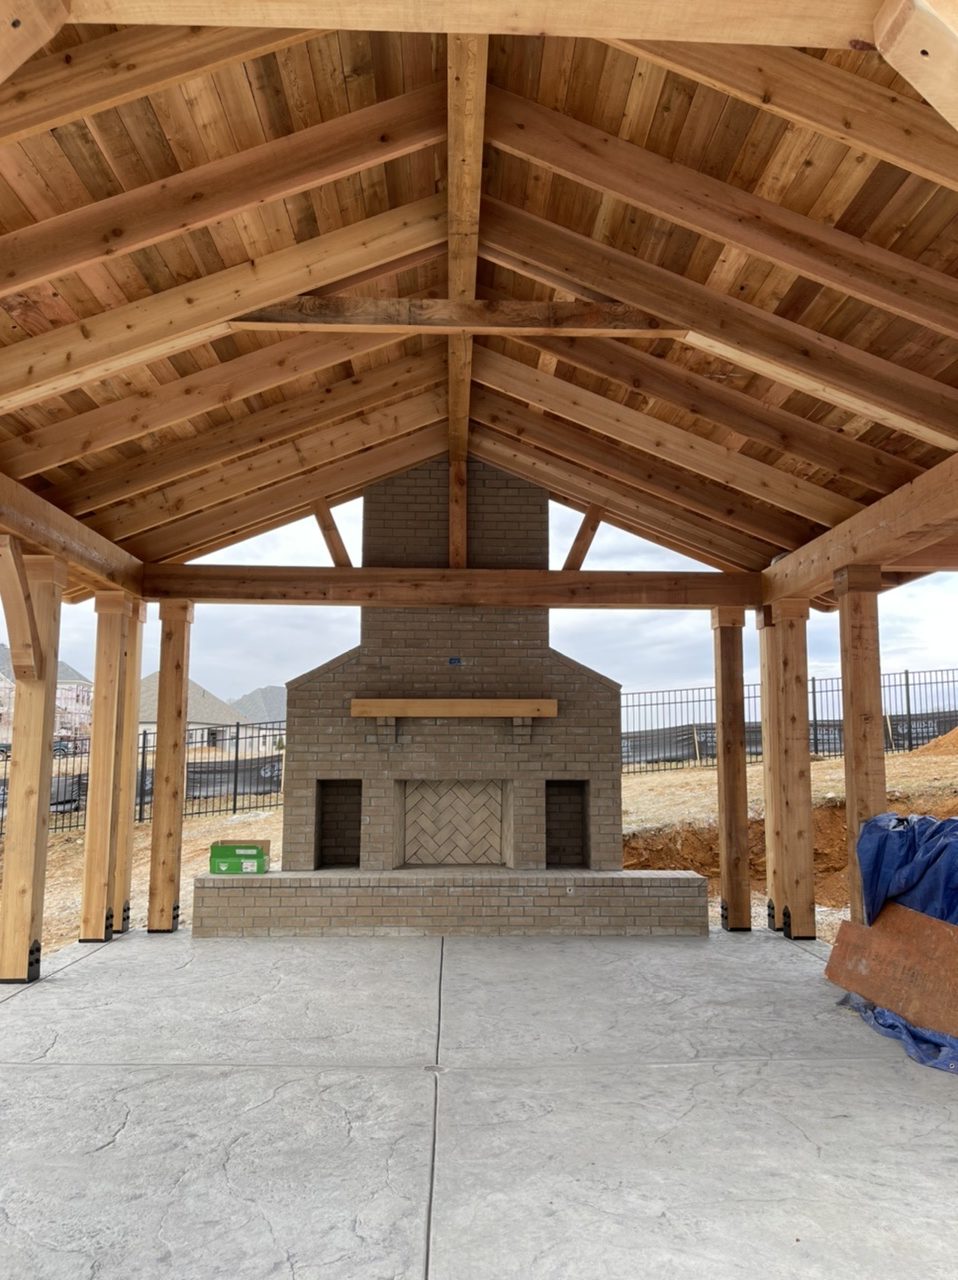
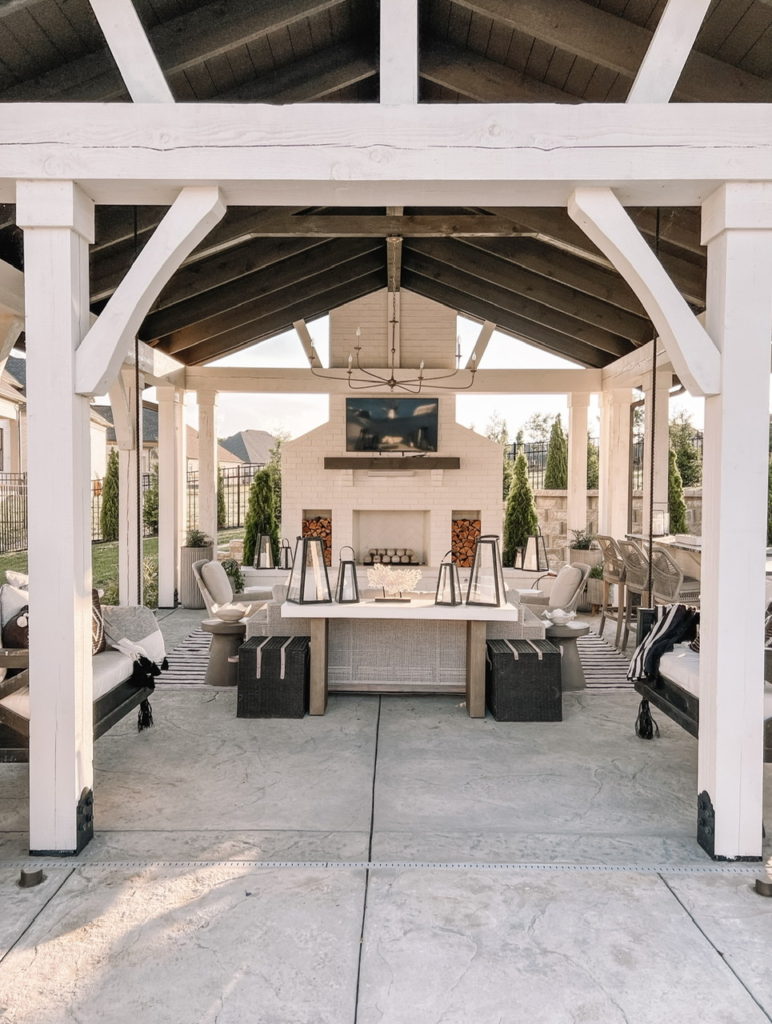
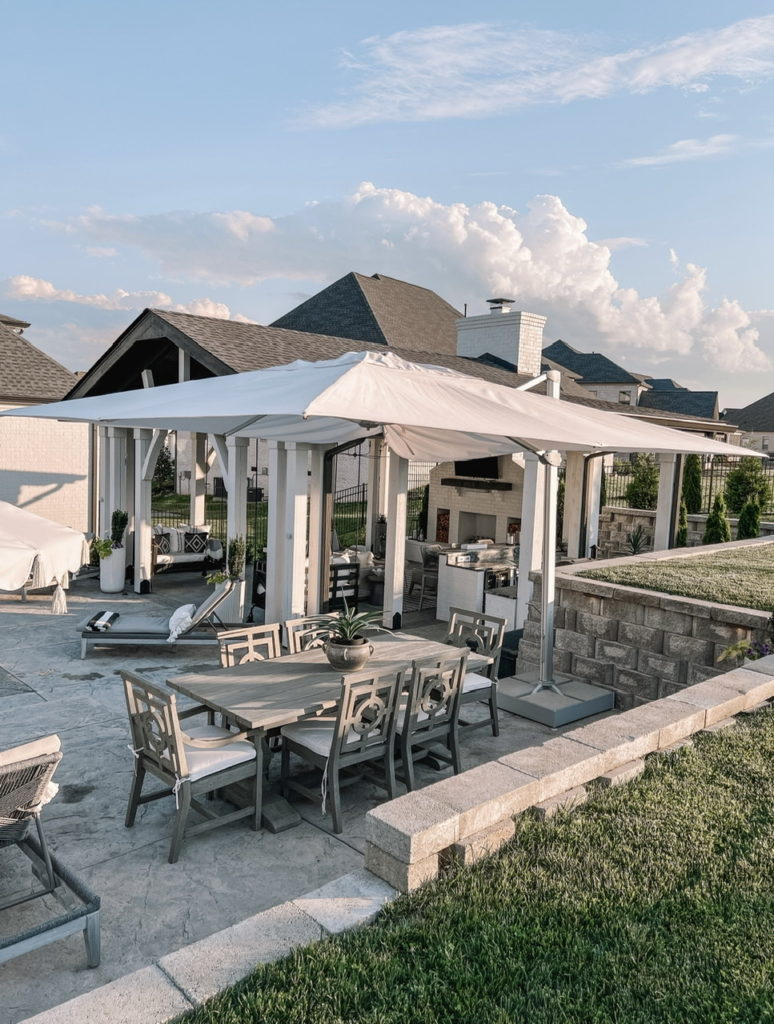
We worked with Luxe Design Build for the pavilion space. To be honest, we didn’t have the best experience at first (the architect that drew up our plans was not very kind and I found him to be very rude), but the actual general contractor was amazing. I actually tried to go back to see if I could find the blueprints of the design, but unfortunately I wasn’t able to locate. However, I do know that the dimensions are 24 feet X 26 feet. I included many photos below of the space, so hopefully it provides enough detail!
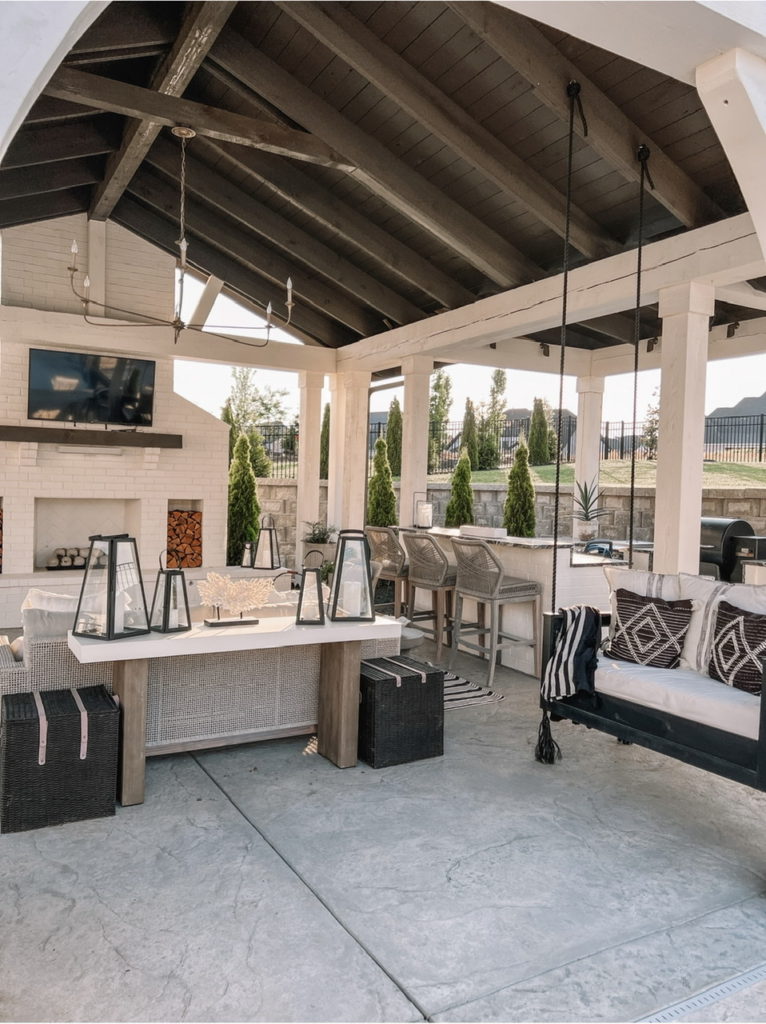
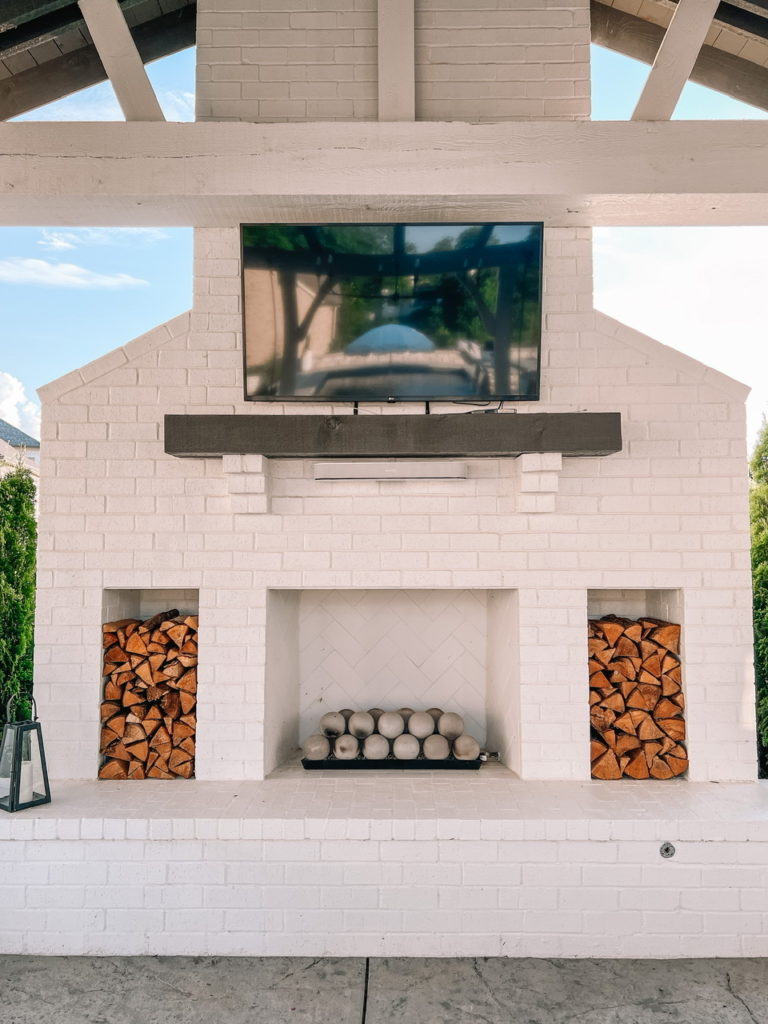
We ended up painting the pavilion the same color as the exterior of our home, Sherwin Williams Snowbound. We really wanted this to be an extension of our home and look like it was there all along. We also painted the ceiling to add a little contrast and used Sherwin Williams Urbane Bronze.
When you walk into the pavilion, there are two bed swings to your left and right. We used a The Urban Upcycle, a local couple who builds swings. They were phenomenal and so easy to work with! I had them paint the bed swings black (I can’t remember the exact Sherwin Williams color she used) and we utilized black ropes to hang the swings. Scott hung them and we loved how they turned out! I purchased the bed swing mattresses (crib size) + covers from this company online. All pillows are from Target!
We did add a small bar + kitchen area off to one side where Scott was able to put his Traeger smoker. We also added a cooktop, wine cooler, and mini refrigerator to that space. We opted for a black marble countertop here (I thought it would contrast well with the white brick), but unfortunately it does get really hot when the sun beats down on it (usually in the late afternoon). Definitely something to think about if you build an outdoor kitchen space!
Below, I have linked as much as I could find online! If there is something in particular you are looking for and do not see it here, feel free to comment below and I will get back to you 🙂
I hope this was helpful for any of you looking into putting in a pool or outdoor space in your backyard. It truly was one of the best decisions we have made with our home and I know we will cherish all the memories made here!


Where are the little pathway lights from?The backyard came out absolutely stunning!!
Our electrician used those! Unfortunately, I don’t know where he got them- I’m sorry!